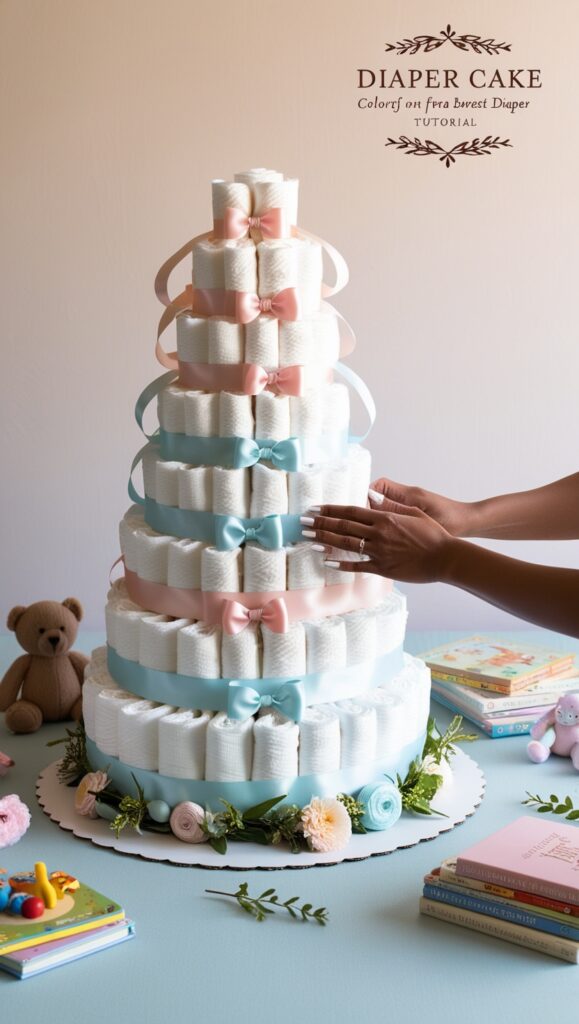
A diaper cake isn’t just adorable—it’s practical too! Perfect for baby showers, these decorative creations double as a thoughtful gift for new parents. The best part? You don’t need to be a crafting expert to make one. With a few simple steps, you can build a stunning centerpiece that will wow guests.
What You’ll Need
- Diapers (about 50 for a three-tier cake)
- Rubber bands (small and large)
- A sturdy base (cake board or decorative tray)
- Ribbon or fabric strips
- Decorative accents (baby toys, pacifiers, flowers, plush animals)
- Double-sided tape or glue dots
Step 1: Roll the Diapers
- Start by rolling each diaper tightly from the waistband to the bottom.
- Secure each roll with a small rubber band to keep it from unrolling.
- Repeat until all diapers are rolled.
Step 2: Build the Base Layer
- Arrange 25–30 rolled diapers in a circle on the cake board.
- Secure the entire circle with a large rubber band or ribbon.
- This will be your bottom tier, so make sure it’s stable.
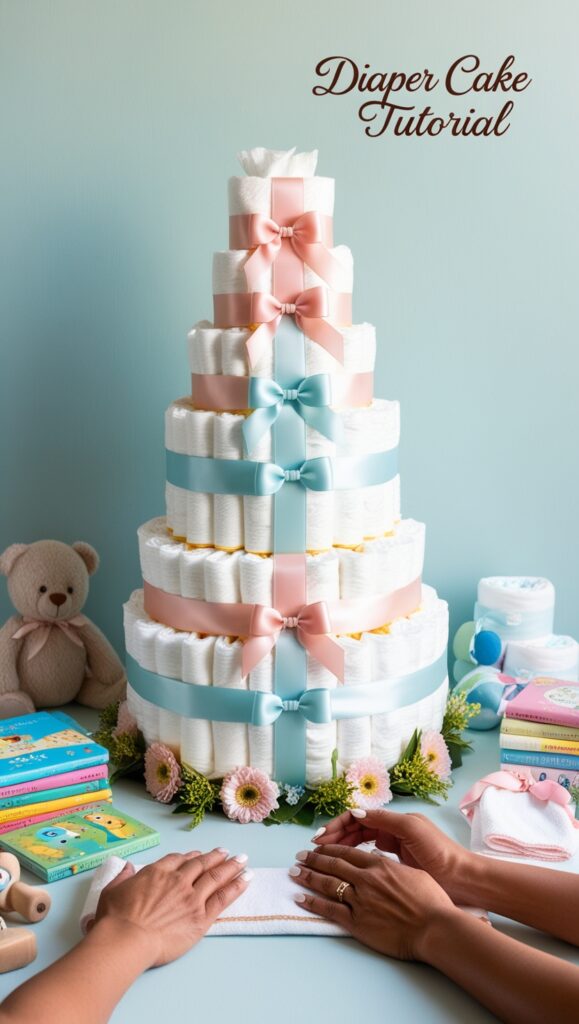
Step 3: Create the Middle and Top Layers
- For the second tier, use about 15 diapers and form a smaller circle on top of the base layer.
- For the top tier, use about 5–7 diapers to form the smallest circle.
- Secure each layer with large rubber bands or ribbon.
Step 4: Add Decorative Touches
- Wrap each tier with ribbon to cover the rubber bands.
- Attach small baby items like rattles, socks, or pacifiers using glue dots or by tucking them under the ribbon.
- Place a plush toy or baby bottle on the very top as a cute topper.
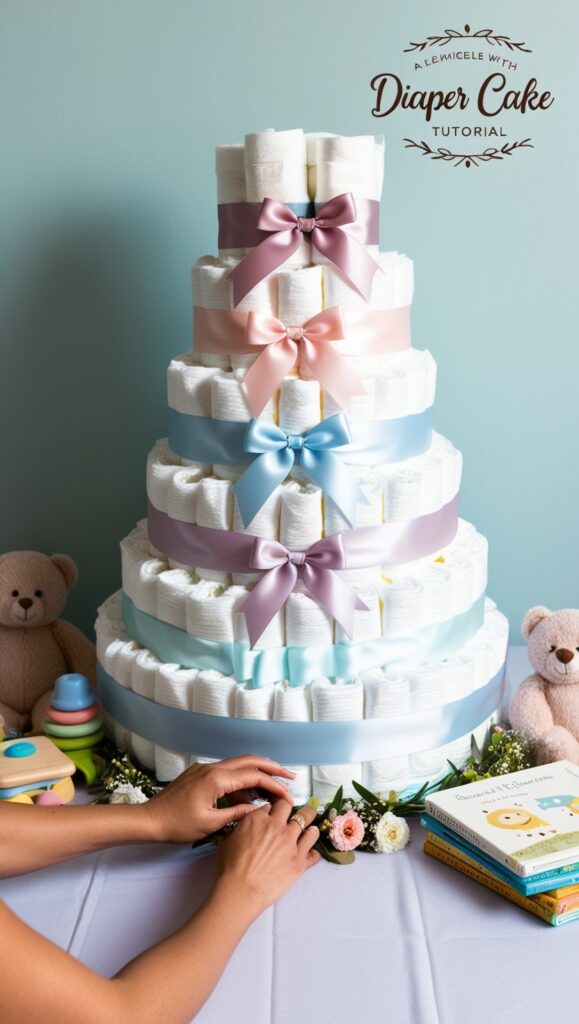
Step 5: Make It Shine
- Add artificial flowers, bows, or themed decorations to match the shower.
- For extra flair, wrap the entire cake in cellophane and tie with a big bow for a professional finish.
Pro Tip: Use size 1 or 2 diapers—they’ll last longer for the new parents than newborn sizes.